How to Compress a PDF Without Losing Quality (Desktop & Mobile)
Large PDFs slow everything down—email attachments bounce, portals reject uploads, and phones struggle to open them. The good news: you can usually shrink a PDF dramatically without making it look fuzzy or unreadable. In this guide, you’ll learn why PDFs get so big, how to compress them step-by-step with PDFileHub on desktop and mobile, how to balance size vs. clarity (DPI, images, and more), and what to do if you see “upload failed” or timeouts.
Why PDFs get so large
A PDF isn’t just “a document.” It’s a container that can hold text, fonts, vector shapes, images, annotations, forms, and even embedded files. A few common culprits drive file size:
1) High-resolution images (DPI too high).
Scans and photos often land in the 300–600 DPI range, sometimes even higher. That’s great for pristine print quality, but overkill for screen reading or portal uploads. A single full-page image at excessive DPI can add multiple megabytes.
2) Uncompressed or poorly compressed images.
PDFs can store images using different methods: JPEG/JPEG2000 (lossy), or ZIP/Flate (lossless). If a document uses lossless compression on photographic images—or no real compression at all—size balloons.
3) Color profiles and transparency.
CMYK images, embedded color profiles (ICC), and layered transparency add overhead. For many on-screen uses, RGB images with flattened transparency are more efficient.
4) Embedded fonts and glyph subsets.
PDFs embed font files so the document looks the same everywhere. That’s good for fidelity but can be heavy—especially if multiple font families or full font sets are embedded instead of compact subsets.
5) Vector complexity and unused objects.
Complex vector artwork (e.g., exported from design tools) can be surprisingly heavy. PDFs may also accumulate “orphaned” objects, metadata, or attachments that aren’t visible but still count toward size.
6) Scanned documents (image-only PDFs).
If a PDF is a stack of full-page images (typical of scans) and not true text, it can be huge. Adding OCR (text layer) doesn’t inherently bloat size, but high-DPI scans + unoptimized images certainly do.
7) Security settings and forms.
Encrypted PDFs or forms with embedded media can be larger, and certain optimizations may be limited until restrictions are removed.
Understanding which of these applies helps you choose the right optimization—often, a smart combination of image downsampling, compression choice, and cleanup can cut file size by 50–90% without visibly hurting quality.
Compress in PDFileHub (step-by-step)
The goal is simple: keep the document looking the same to the human eye while shaving off excess bytes. PDFileHub’s compressor is designed to make this painless. Here’s the workflow on both desktop and mobile.
Desktop (Mac/Windows/Linux)
- Open PDFileHub → PDF Compressor.
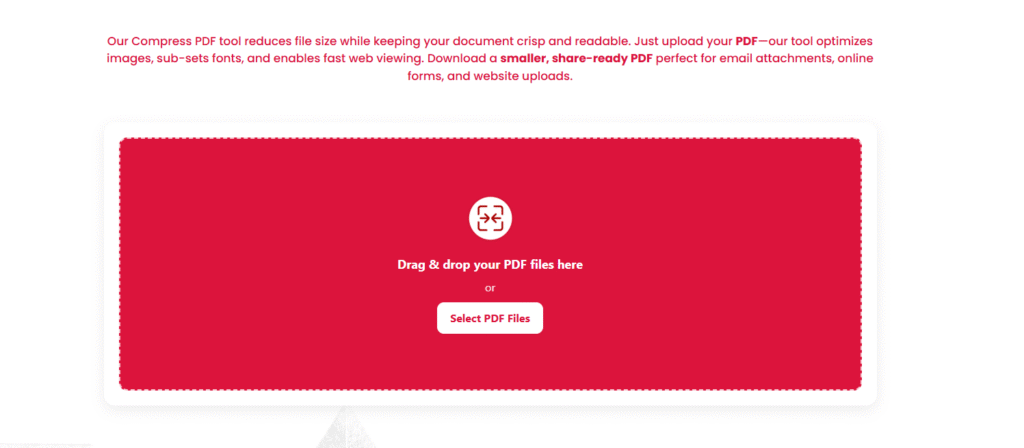
Go to the Compress PDF tool on PDFileHub. - Add your file.
Drag and drop your PDF into the upload box, or click Choose File and select it from your computer. - Pick a compression level.
If PDFileHub offers presets, you’ll typically see something like:- Strong/Max compression: smallest file, potential slight softening of images.
- Balanced/Recommended: best mix of size reduction and clarity for most documents.
- Light/Low compression: gentle reduction, preserves more original detail.
- Advanced (optional).
If advanced options are available, consider:- Image downsampling: e.g., downsample images to 150–200 DPI for on-screen use; 300 DPI if the file will be printed.
- Compression type: photographic images respond well to JPEG/JPEG2000; graphics/screenshots sometimes look cleaner with lossless ZIP/Flate.
- Remove unused items: strip metadata, embedded thumbnails, and unused objects.
- Flatten transparency (when safe): simplifies layers that don’t need to remain editable.
- Compress.
Click Compress (or Start). The tool will process your file and display a download link for the optimized PDF. - Compare quality.
Open the compressed file in a separate window. Zoom to 100% (and 150–200% on pages with detailed images) to ensure text remains crisp and images look acceptable. If images look too soft, re-run with a lighter setting or higher DPI cap. - Save and name clearly.
Use a descriptive filename (e.g.,Proposal_2025_compressed.pdf) so you don’t overwrite the original. Keep the original as a fallback.
Mobile (iOS/Android)
- Open PDFileHub in your mobile browser.
Navigate to the Compress PDF tool. - Upload from your device.
Tap the upload area → choose from Files, Photos, or your cloud storage provider. - Choose a preset.
On mobile data, a stronger preset can help keep upload/download times small. If visual fidelity matters (e.g., logos or product shots), use Balanced first. - Run compression and download.
Tap Compress. When finished, download the optimized PDF and store it in your Files/Drive app. Preview it to confirm clarity.
Pro tip: If you’re targeting a portal limit (e.g., < 10MB, < 5MB, < 2MB), check the output size after each pass. Two light passes can sometimes yield better quality than one aggressive pass, depending on image content.
Balancing size vs readability (dpi, images)
The art of “lossless-looking” compression is to remove what the eye won’t miss. Here’s how to get there:
1) Match DPI to the use case
- On-screen reading and email: 150–200 DPI for embedded images is typically indistinguishable from higher DPI at normal zoom.
- Desktop printing (office printers): 300 DPI is a safe target for images.
- Large-format print or fine art: keep source at 300–600 DPI, but consider selective compression (only downsample photos that don’t carry critical detail).
If the PDF is a scan, first determine the actual page size (A4/Letter). A 300 DPI scan for a full page is already high quality; 600 DPI can be overkill unless you need archival fidelity.
2) Choose the right compression for the content
- Photographs / gradients: JPEG or JPEG2000 typically provides the best size reduction with minimal artifacts. Keep the quality setting moderate; ultra-high compression may introduce blockiness.
- Line art / logos / UI screenshots: Consider lossless (ZIP/Flate) or higher JPEG quality. Over-compressing screenshots or text-over-image can create halos or blur around edges.
- Mixed documents: Many optimizers (including PDFileHub) automatically choose per-image strategies. If you can, enable “optimize per image type.”
3) Flatten where safe; keep vectors when valuable
Flattening transparency and simplifying vector effects can reduce size. But don’t flatten vector text or diagrams that benefit from infinite crispness at any zoom. In many business PDFs, preserving vector text is essential for readability.
4) Remove the hidden baggage
Strip metadata, attachments, embedded thumbnails, and alternative renditions you don’t need. These aren’t visible to readers but can add megabytes.
5) Avoid double compression
If your PDF already uses optimized JPEGs, re-compressing too aggressively can compound artifacts. In those cases, aim for gentle downsampling or leave already-efficient images alone.
6) Test at realistic zoom levels
Most reviewers read at 100–125% on desktop or fit-to-width on mobile. Judge readability there first. Only zoom to 200%+ to spot check fine details (graphs, tiny labels). If critical labels blur, nudge quality/DPI back up.
Troubleshooting “upload failed” or timeouts
Compression is straightforward, but network, browser, or file quirks can cause hiccups. Work through these fixes in order:
1) Check file size and connection
- Very large PDFs (hundreds of MB) can stall on slow or spotty connections. If possible, switch to a stable Wi-Fi network.
- If PDFileHub has an upload size cap, compress locally first (e.g., export from a PDF editor with lower DPI for images) and then run the online tool for final optimization.
2) Remove passwords or restrictions
Password-protected or restricted PDFs may fail to process. If you own the document and have permission, remove the password/restrictions in your PDF software before uploading. (Never attempt to bypass security on documents you don’t own.)
3) Tidy the filename and path
Avoid special characters in the filename (e.g., # % & ? + = { } [ ]). Stick to letters, numbers, hyphens, and underscores. Filenames with unusual characters sometimes cause server or CDN parsing issues.
4) Try a different browser or a private window
Extensions like ad blockers or privacy filters can interfere with uploads. Open an Incognito/Private window or try another browser (Chrome, Edge, Safari, Firefox). If it works there, the issue is likely an extension—disable it for PDFileHub.
5) Clear cache/CDN and reload
If you recently updated the site or tool (or your own network uses caching), a stale script can break uploads. Hard-refresh the page (Shift + Reload on desktop) or clear the browser cache and retry.
6) Split extremely long PDFs
Gigantic PDFs with hundreds or thousands of pages can hit time limits. Split the file into smaller chunks (e.g., 200–300 pages), compress each, then merge the compressed parts back together.
7) Check image anomalies
Occasionally, a specific page has an odd image/color profile that chokes optimizers. Re-export that page as a standard RGB image (PNG/JPG), replace it in your source file, and recreate the PDF.
8) Verify the PDF isn’t corrupted
Open the PDF in multiple viewers (Acrobat Reader, your browser). If one viewer can’t open it, the file may be corrupted. Re-export from the source app or print to PDF again, then retry.
9) Try off-peak times
If your connection is shared or throttled, uploads may time out at peak hours. Scheduling the upload/compression when the network is quieter can help.
10) Contact support with specifics
If nothing helps, note the file size, the exact error message, your browser and OS, and (if allowed) share a sample file. That context makes troubleshooting fast and accurate.
Final thoughts
You rarely need to choose between tiny and terrible-looking PDFs. Start by understanding what’s inside your file (images, fonts, vectors), then apply smart compression: right-sized DPI, appropriate image compression, and a quick cleanup of extras. With PDFileHub’s presets, most users can hit common limits (2–10 MB) without any visible quality loss. And if you’re preparing documents for specific portals, test a page or two first to find the sweet spot—once you dial in the settings, you’ll compress confidently every time.